Creative Framing Idea for Diamond Painting
Have you noticed all the wooden signs and plaques that your favorite craft shops stock? The wooden surfaces department of many craft retailers has exploded with options – and this bodes well for diamond painters because many signs and plaques make an ideal surface for your finished Diamond Dotz diamond painting canvas. Follow along and learn more about this cool framing idea for your sparkling creation.
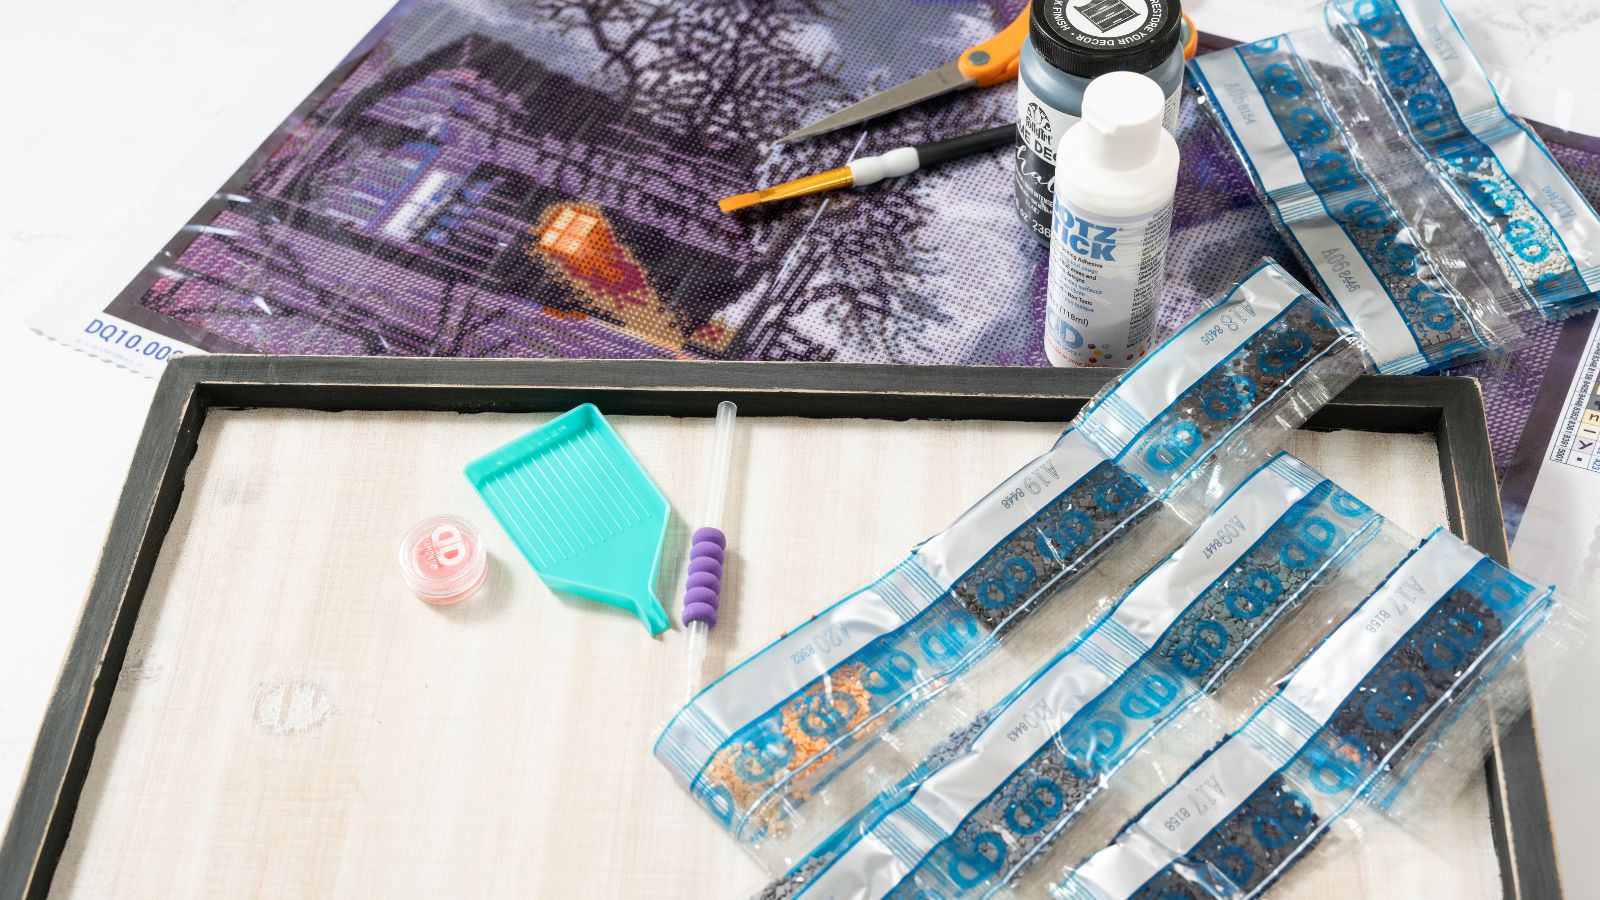
Gather your supplies:
- Your finished diamond painting
- Dotz Stick brush-on adhesive
- Paint brush
- Scissors
- Wooden sign or plaque
- Plaid FolkArt Chalk Paint

Let’s talk a bit about the diamond painting. The design completed for our project is Diamond Dotz Twister and this is a close-up of what the chart looks like.
Twister is a full-drill design, which means the diamond gems will completely cover the canvas when it is done.
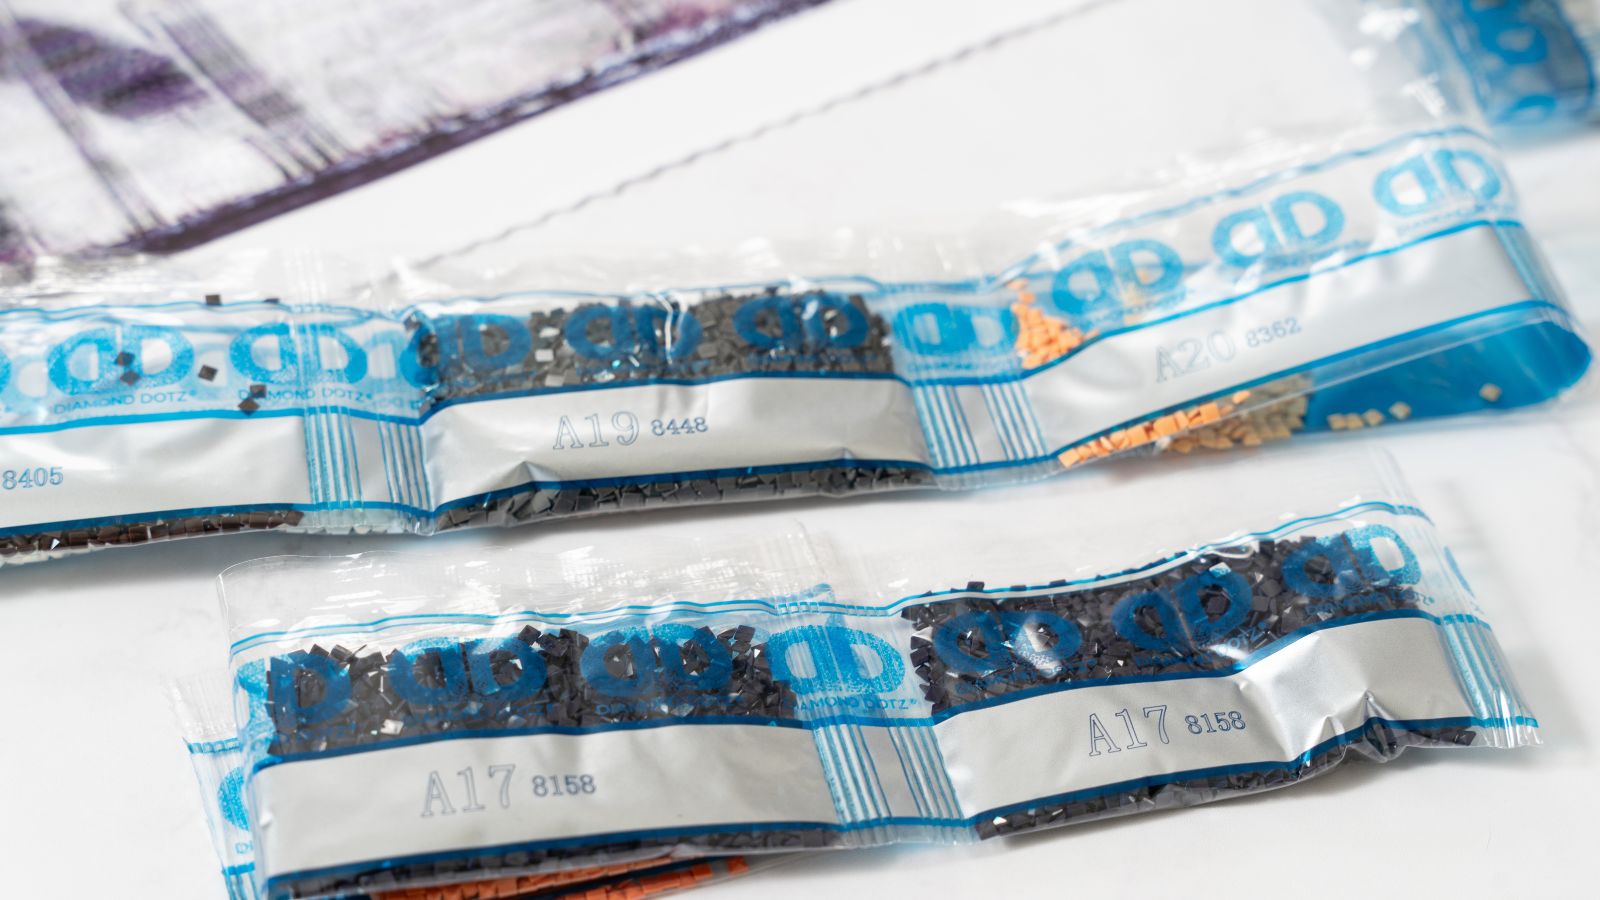
All Diamond Dotz diamond painting kits feature gems that are sorted by color shade. Each shade is packaged in its own packet, and each packet is clearly labeled with two numbers: one number corresponds to the symbol for the specific kit (the “A” number) and the other number universally corresponds to the color shade (the four-digit number).

Take a good look at the Dotz facets in this kit – they’re square. If you haven’t tried a Diamond Dotz squares kit yet, you really should. The square facets completely cover the surface area of the canvas when it’s completed, and the shimmering sparkle that they create is phenomenal.
The squares must be placed precisely so that they line up, thus most squares kits are intermediate or advanced skill level. (The Twister kit shown is intermediate.)
Good to know: the Diamond Dotz squares kits are noted with a “DQ” at the beginning of their item code. (The round diamond facets are noted with a “DD”.)
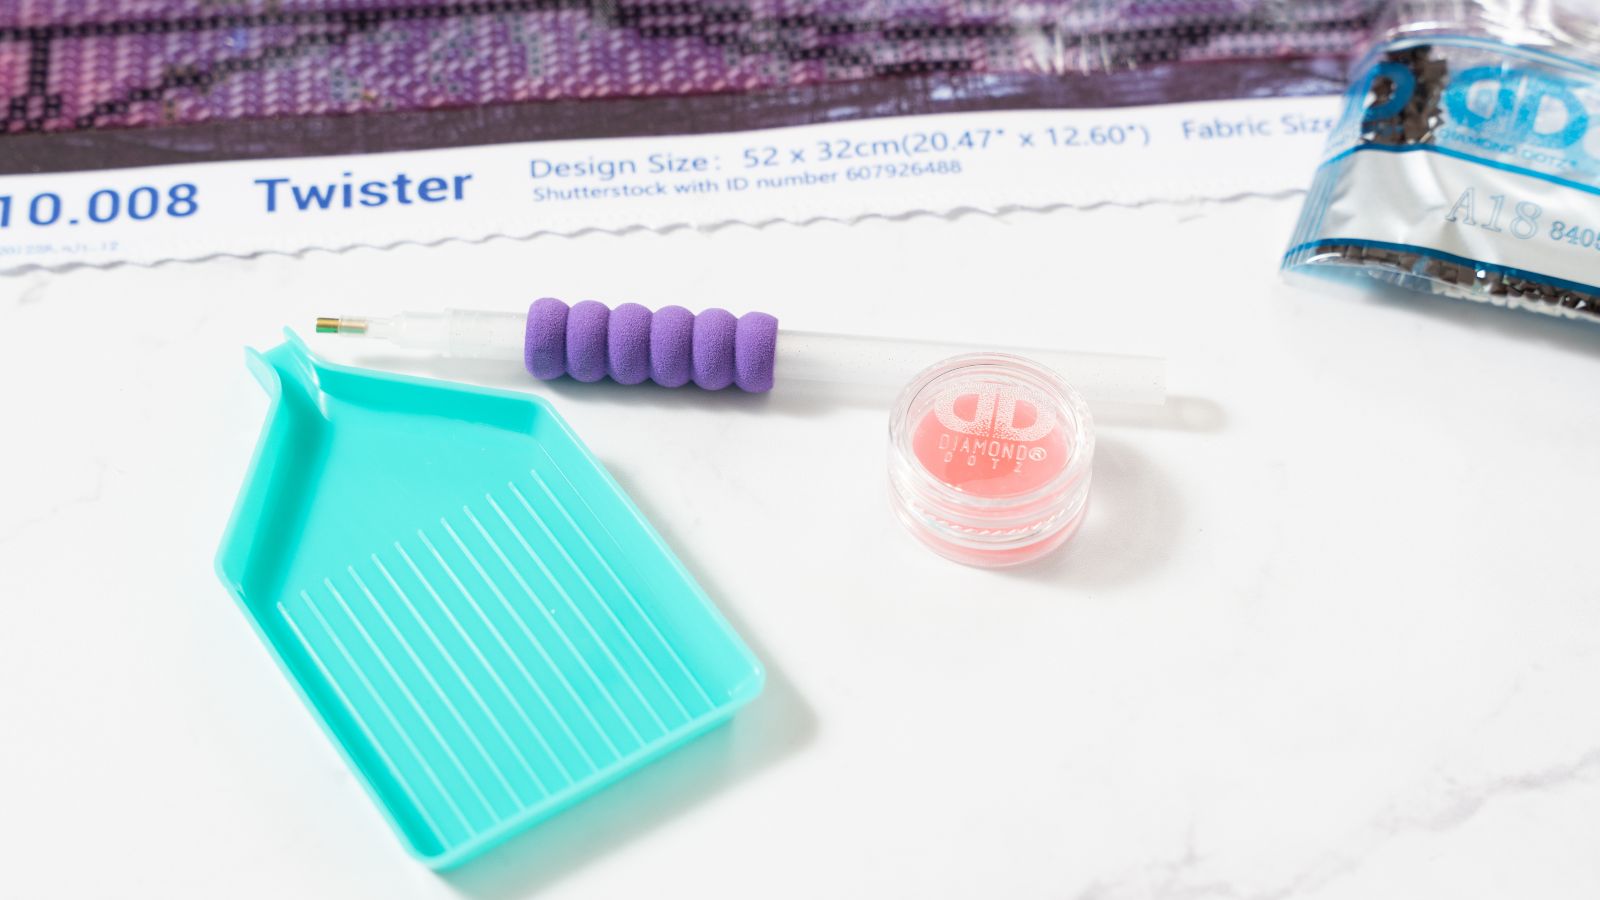
All Diamond Dotz premium kits include these application tools: a stylus, craft tray and wax caddy.
TIP: These are essential tools used again and again when diamond painting, so when you kit down upon completing your diamond painting, be sure to save the tray, stylus and any leftover wax.
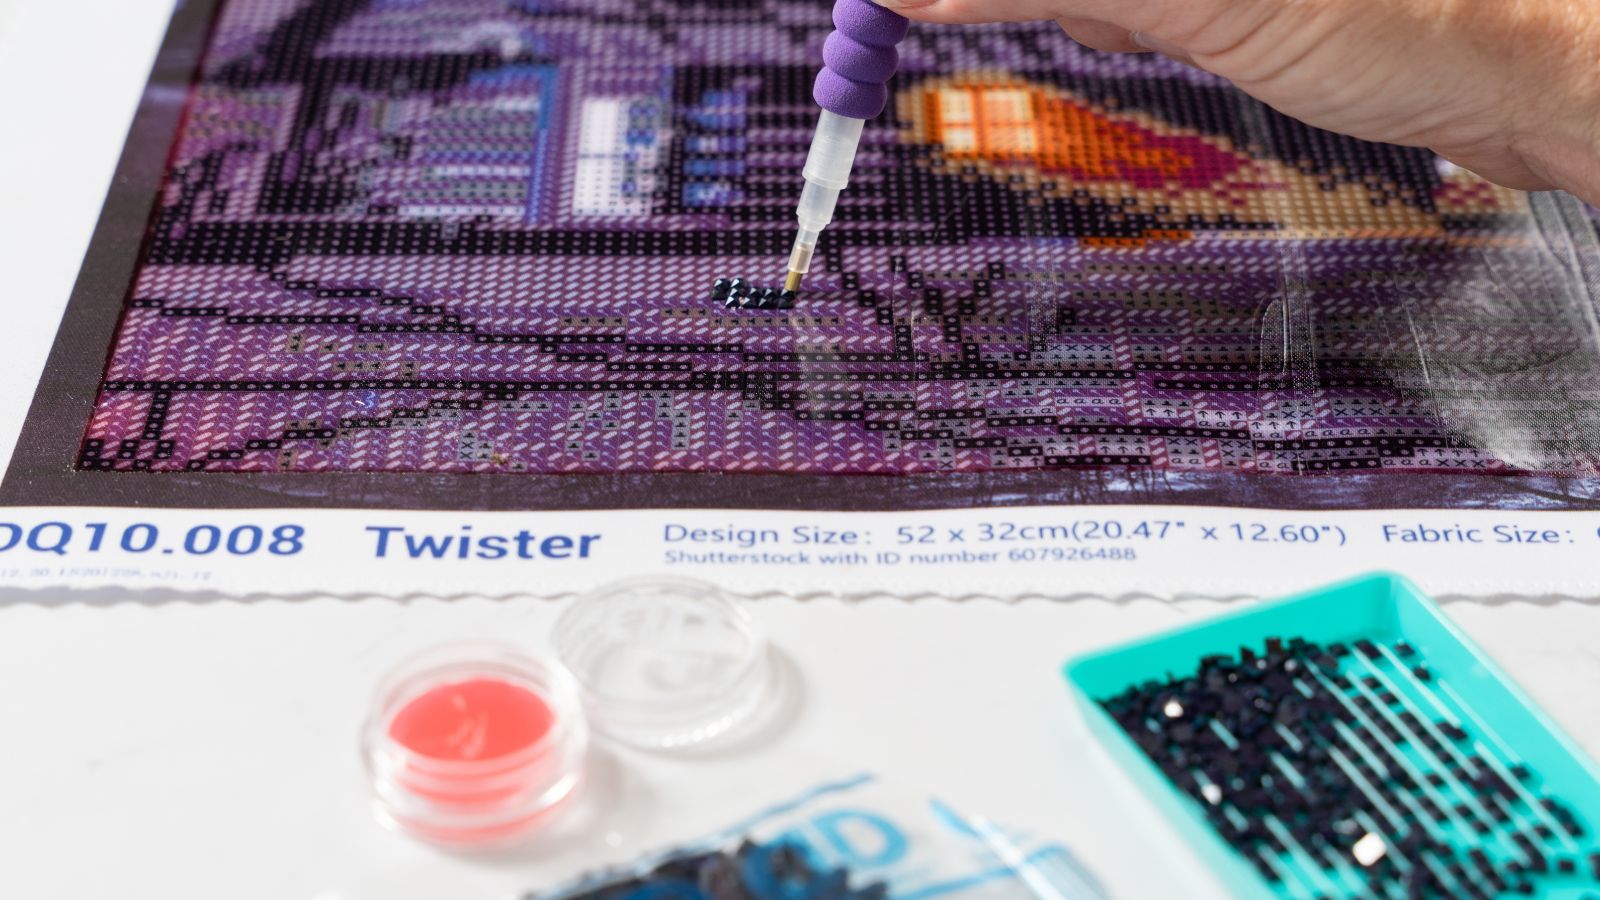
Load your tray with Dotz and begin dotting your design! Diamond painting is a quick technique to master – see How to Diamond Paint in 12 Easy Steps to get started.

Once your diamond painting is complete, you’ll want to work on your wooden surface. The sign that we used fit the diamond painting perfectly, so we only had to paint the frame. We chose a black FolkArt chalk paint to go with the dark shades of the Twister design.
Pick a paint color that complements your diamond painting, and if your wood surface is larger than your diamond painting, apply paint appropriately to cover the surface and give a nicely finished look.

Now prep the completed canvas for framing. Trim the edges of your diamond painting canvas using a pair of scissors. You’ll want to trim off the color key, and any other printed information like the name of the design, the Diamond Dotz logo, etc.
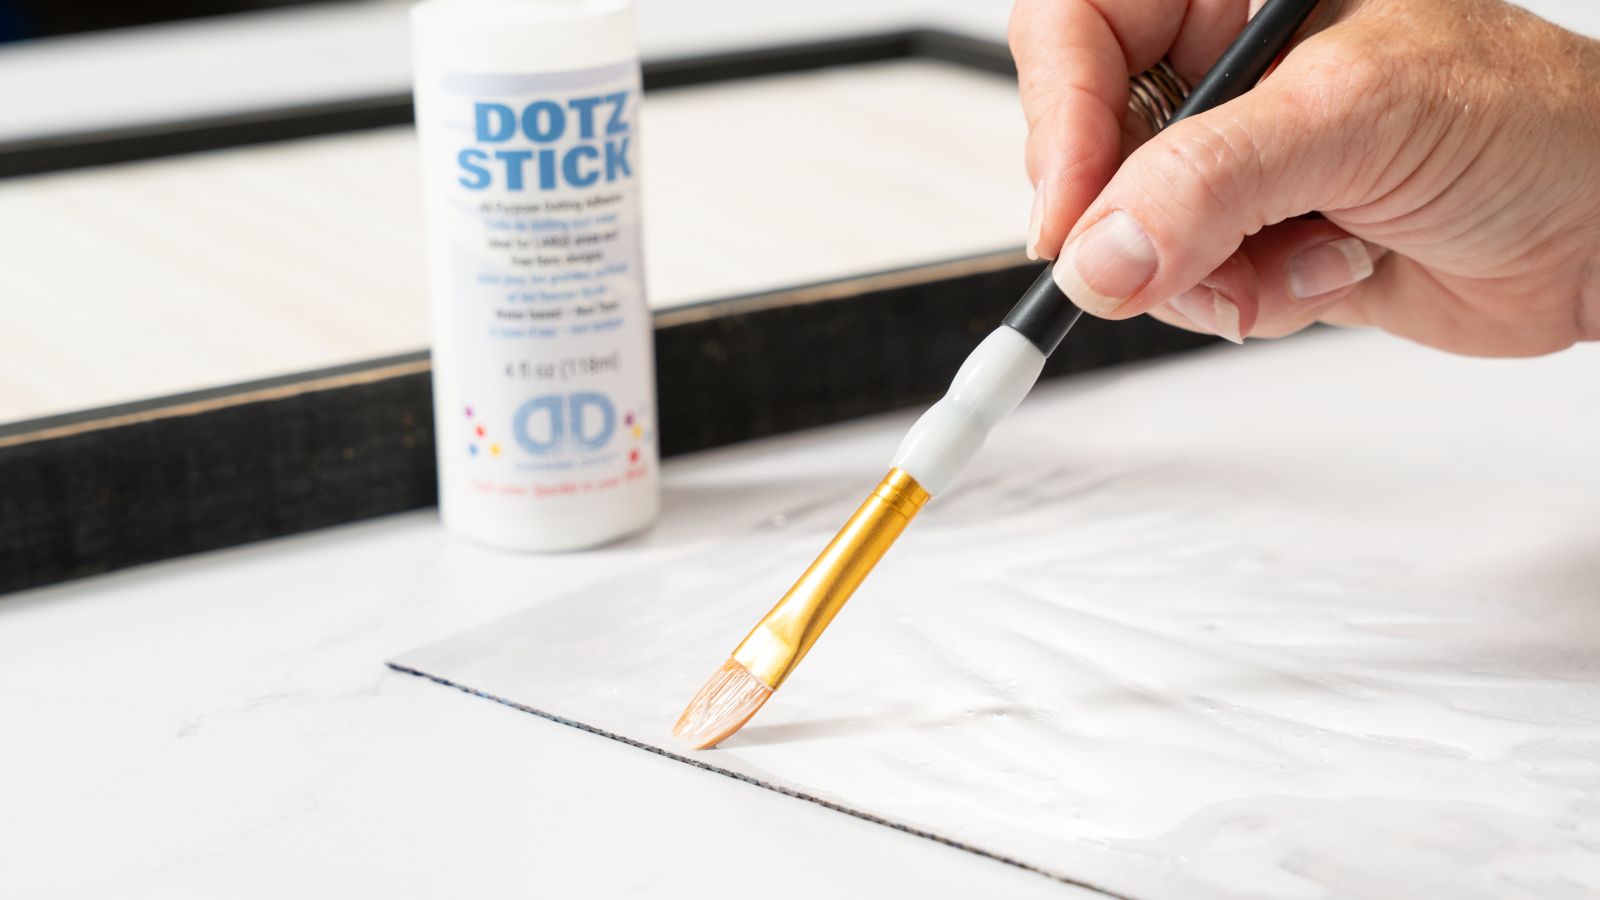
Turn your diamond painting canvas over and squirt some of the Dotz Stick brush-on adhesive onto the back side of the canvas. Don’t apply too much.
Use the paint brush to brush the Dotz Stick onto the canvas using even brush strokes. The Dotz Stick adhesive should cover the back of the canvas in a consistent manner.

Let the Dotz Stick dry until it is slightly tacky to the touch.
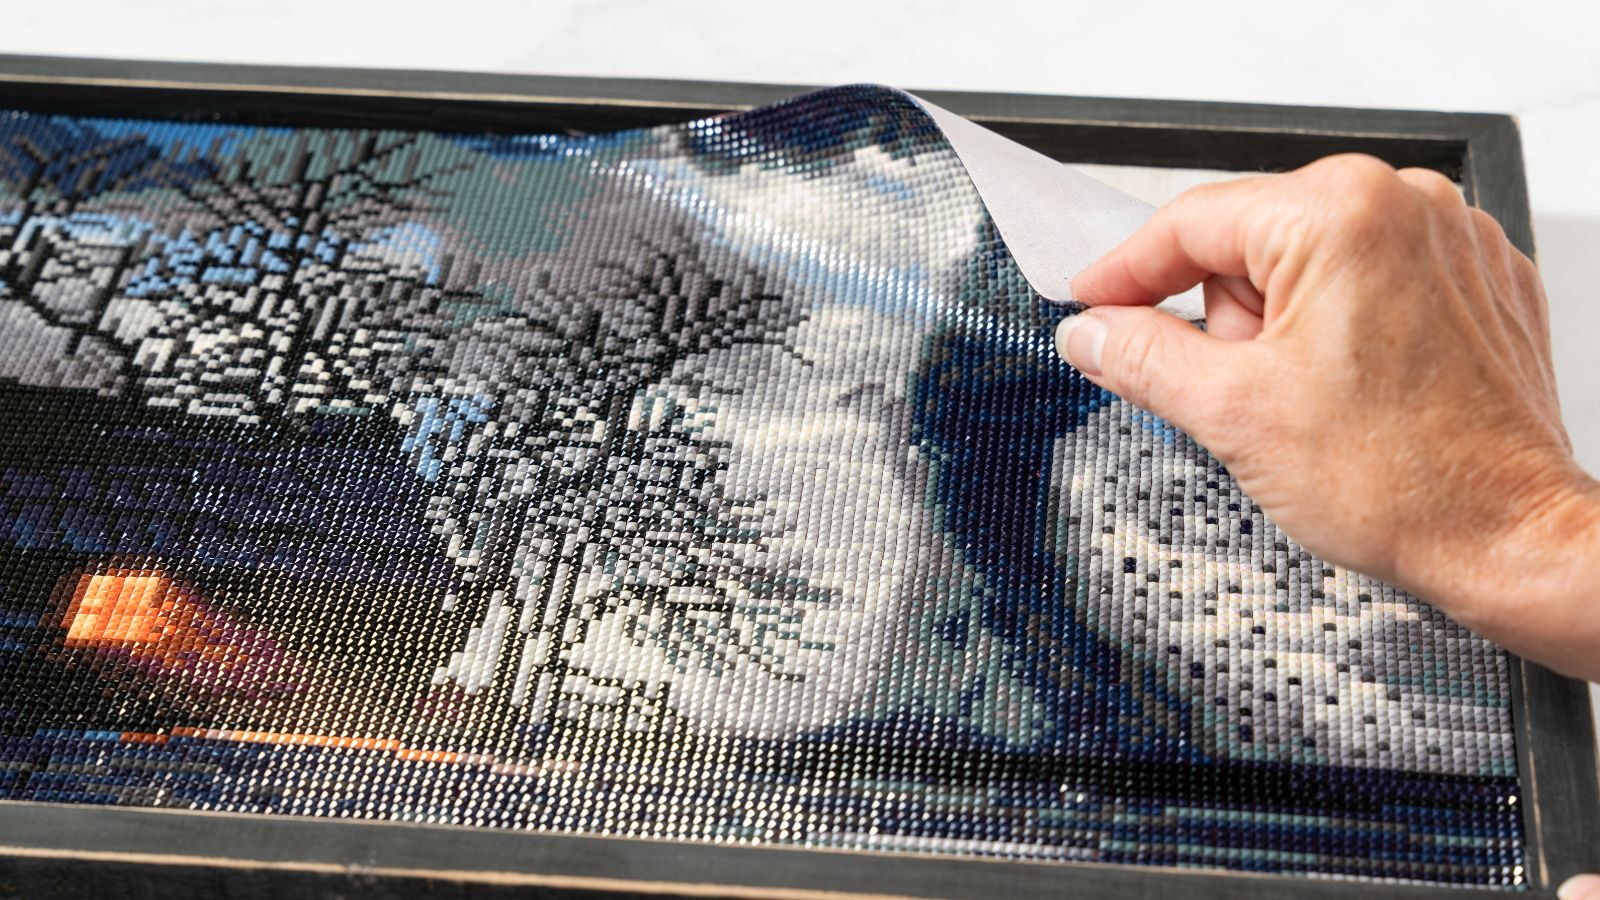
Position the diamond painting as desired on the wooden sign or plaque, and smooth it in place with your hands.
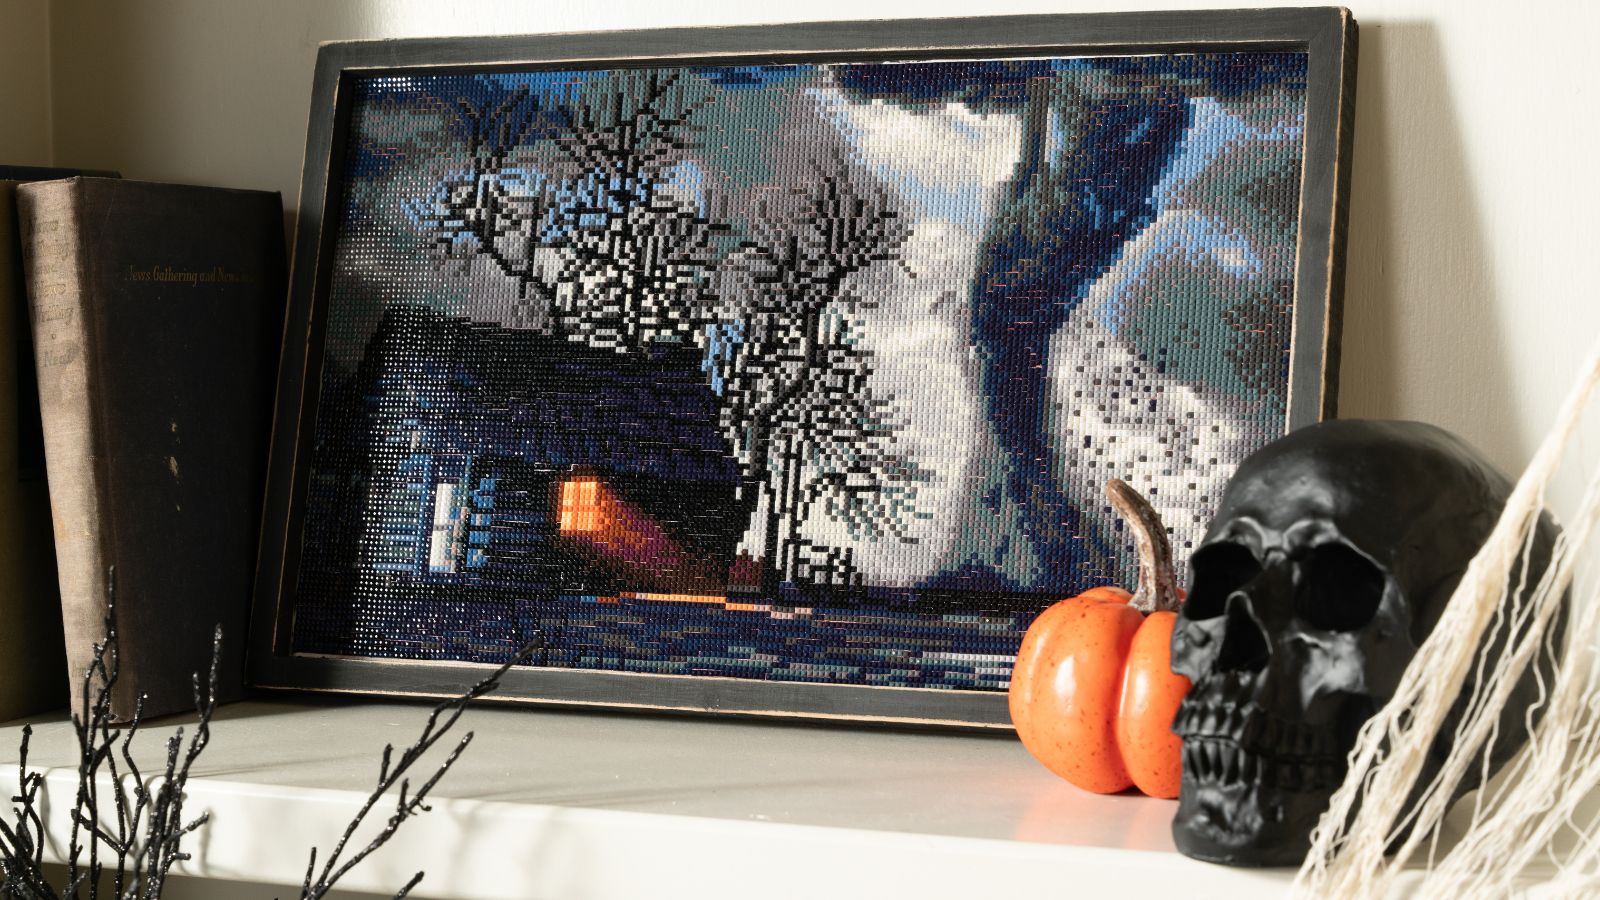
That’s it – don’t you love it? Display your newly framed diamond painting with your favorite accessories, or with seasonal décor when it’s timely. Also be sure to check out another creative framing idea for your finished diamond paintings - this one uses a mini pallet to frame your diamond painting.
